Thursday 30 July 2015

Interview With Danielle Becker Photography


I have lots of photographers whose work I love to follow, and one of those is Danielle Becker.

I caught up with her recently via email to ask her a few prop related questions

Do you have a favourite colour you look for when choosing props?

When I look for props I like to look for creams and natural wood colors.
For blankets and outfits again I like creams and light colors, like soft pinks and purples.


Are there any colours you tend to avoid in your sessions?

I avoid florescent colors. I don't like how the florescent colors reflect back on the babies skin. I feel like neutrals and light colored fabric compliment the babies skin.


Do you have a favourite age to photograph with props?

I LOVE LOVE LOVE photographing newborns with props and 6 month babies! They are my two favorite sessions!


How many times would you use the same prop before consigning it to the back of your prop stash?

I probably use a prop 6/7 times before I am in love with the next prop. I pretty much keep everything because you never know when you will need that item. I am a bit of a prop hoarder lol.


Do you have any tips on using props in photography?

When it comes to props I want the baby to be the center of attention. I try not to use over the top props. Sweet and simple for me :-)


How do you decide what props you are going to use each session?

When I would travel to homes to photograph newborns I would ask the parents what colors they liked and hated. I would bring items that went along with the colors they liked. I would bring a variety of props to work with. Especially blankets in case we had lots of accidents.


Can we see your prop storage area?

This is an old image of some of my stuff. It wasn't completed as I had pretty much just moved into that studio.


Which photographers influence you? Whose work do you love?

Sandra Hill is my favorite photographer! I just love every single image she puts out! She is amazing at what she does!


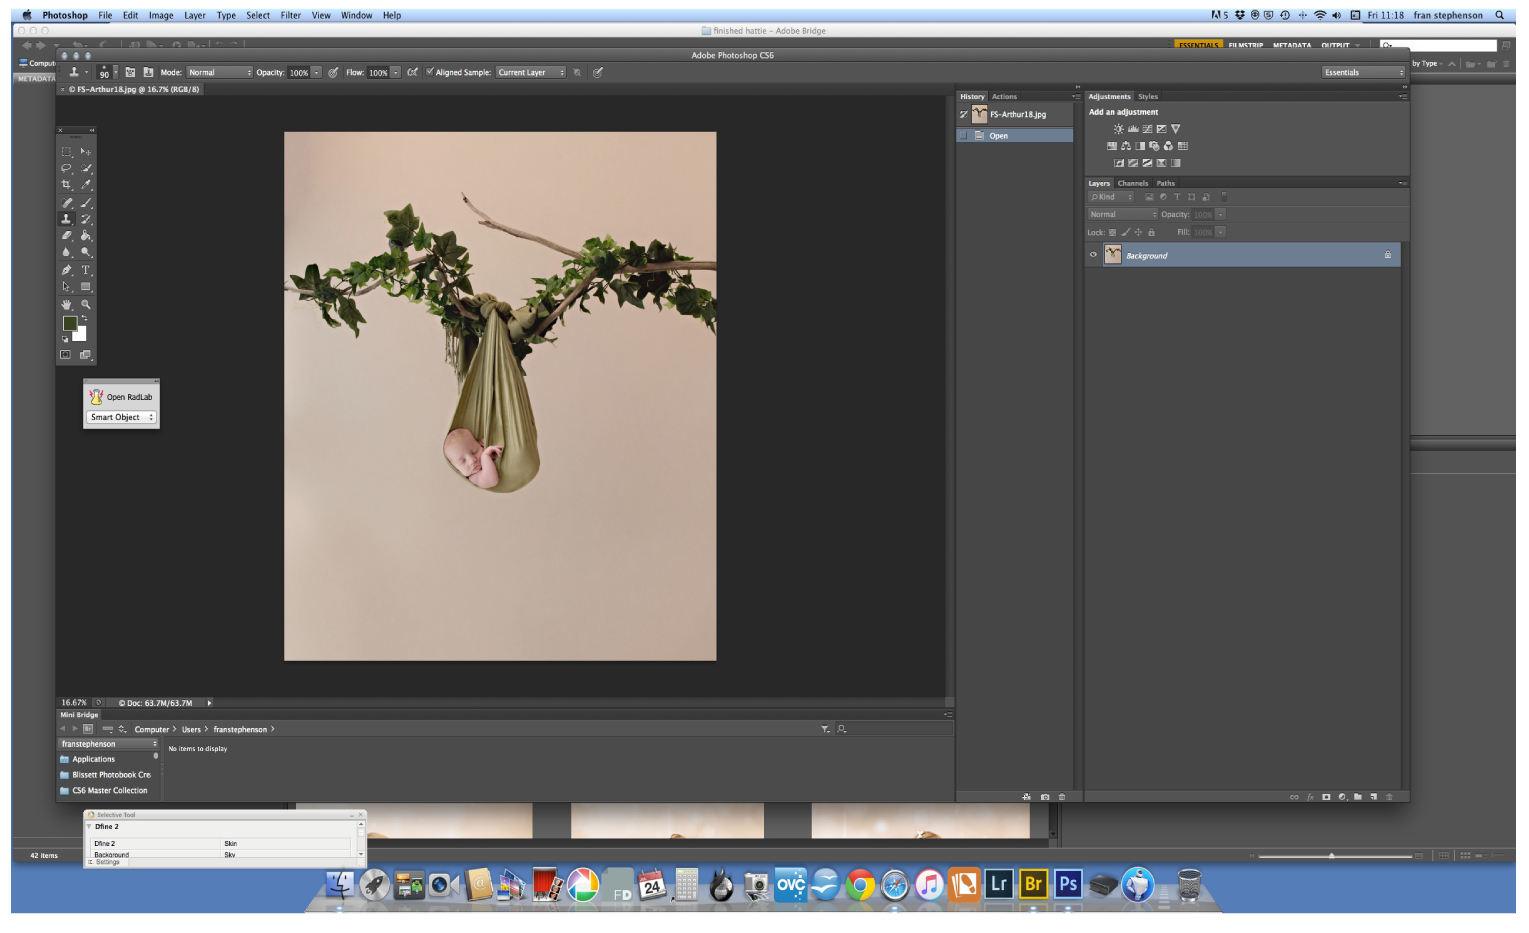
What is your absolute most favourite image in your portfolio and why?

This is my favorite image at the moment! She is just so beautiful! Those lips and squishy cheeks and a full head of hair! Absolutely adored this little lady!


Thank you so much Danielle for taking the time to answer my questions and for sharing!

Please do pop over to her Facebook page and website to see more of her beautiful images


Saturday 25 July 2015

How To Make A Storage Frame for Hairband and Tieback Photography Props

There's nothing more frustrating when you know exactly the tieback prop you want to use for your next photography shoot, but you just can't lay your hands on it.

In this tutorial I show you how to make a pretty frame to display your collection of tiebacks and hairbands in your studio.


The great thing is, you don't need much space in your studio and clients will love seeing your collection on display!


You will need :

(1) Frame with glass removed
(2) Back to frame
(3) Spray Adhesive (not essential, but does make life easier)
(4) Staple Gun
(5) Scissors
(6) Fabric of your choice
(7) Safety Pins
(8) Polyester Wadding (readily available on ebay)


Step 1

Cut wadding large enough to give you approx 2 inches edge around the back of your frame. You can see I haven't been terribly accurate.


Step 2

Use spray adhesive (if you have it) and stick your wadding onto your back piece.
Then spray again onto the wadding and place another layer of wadding on top.  This will ensure you have nice thick padding.


Spray wadding again and then lay your fabric on top.


Step 3

Staple your layers of wadding and fabric to the back.
Again, you do not have to be too neat, nobody will see your work.


Step 4

Trim excess fabric and wadding from the back


Step 5

Place your padded piece into your frame and pin your safety pins into the fabric.


Step 6

Loop your hairbands and tiebacks through the safety pins


Step 7

Hang on wall, step back and admire your handywork and then look round to see what else needs staple-gunning because it's quite addictive!


Need new hairbands for your collection?  Check out what's currently available in my shop

Friday 24 July 2015

How To Make A Water Reflection in Photoshop

Even though I no longer photograph for clients any more, I still very much enjoy staying active in the photographic community and keeping my eye on current trends and following a few of my favourite photographers.

When I saw these images by Cleare Photography I gasped out loud.  


I had never seen anything like it before.

I knew of course that they were photographed safely as composites, but I didn't know how she had created the water effect.

So I did some research and discovered it was a Plug-In called Flood by Flaming Pear

Not being that skilled at Photoshop, I asked my friend and fellow photographer Fran Stephenson to write a guest post to show how easy it is to create the effect.


How to use the flaming pear flood filter


open the image in photoshop


Make a duplicate layer
Go to your filter menu and drop down to your plug ins, select the flaming pear flood filter


Flood appears in its own box, at this point you can play with all the effects.


I like the water to appear as if its behind the subject, to do this you need to move the horizon until it is where you would like it, the water will cover the subject as above, at this point take the eraser tool, and make the edges hard, and remove the filter from the subject.


Once you're happy with removing the effect flatten the image, and repeat the process, so make another duplicate layer, and go to the filter menu again, but this time pop the horizon just under the subject. 


And there you have your finished image, its that simple!


I'm so impressed with the overall effect, I have designed 3 backdrops that I think would look amazing behind a baby or child on a wooden moon prop or swing over a water reflection :


To see my backdrop designs, prices and details on how to order, click here

If you create your own water reflection images, I would LOVE to share them on my facebook page - please feel to post them to my wall or send them to me as a message!

Monday 20 July 2015

How To Make Tissue Paper Pom Poms

Photographing older babies and children is always the perfect excuse to have fun with props and create a themed set.

One of the easiest props to make yourself are tissue paper pom-poms - you see them all over Pinterest - and they are so easy to make!

I'm even going to show you how you can dismantle them and store them flat at your studio ready for your next session (assuming they are not all covered in butter icing and cake!)


You will need

Sheets of tissue paper - at least 8 sheets per pom pom
Scissors
Paper clips
And cotton thread if you want to hang them from the ceiling or backdrop stand


Step One

Lay at least 8 sheets of tissue paper on top of each other and fold in a concertina.
You do not need to be terribly accurate


Step Two

Cut off the ends in a semi-circle shape.
Again, you do not need to be super accurate.


Step Three

Secure the middle with two paperclips.
(If you do not want to be able to dismantle your pom poms, you could wrap some florist wire around instead, but please be careful if using them around children)


Step Four

Separate each layer and fan out from the centre.
Try being gentle as the paper is so easily ripped at this point


Step Five

Keep fluffing out from the centre and you will end up with a ball!
If you want to hang your pom poms, wrap your thread round the paper clips in the middle.


Step Six

If you don't have space to store your pom poms, find the middle, take off the paper clips and straighten out the layers.
All ready for re-making and using next time!


Try using a different colour in every other layer for a different look


Don't be too mean with how many layers you use.
You need a minimum of 8 sheets to get a nice rounded ball.
Anything less and you end up with a sad and stingy pom pom.
The more sheets you use, the fluffier your pom pom

I used just 5 sheets of paper and got this pathetic looking pom pom


If you make any pom poms after reading my tutorial, I would love to see your images of them in use!  Post to my facebook page here 


Thursday 16 July 2015

Butter Icing Test on Backdrop Materials

This video shows what happens when butter icing is smooshed into the four different backdrop materials (Standard Vinyl, Premium Vinyl, Poly Paper and Coated Polyester)

I was able to wipe away the icing gently from all of them using a non-bleach wipe, but I also gave them a really good scrub.


See the results :


Order a set of samples to test the materials for yourself here


(and yes, I ate the cake afterwards)

Tuesday 7 July 2015

How To Make Your Own Blog or Canvas Template Layout Using Clipping Masks

I stalk a lot of photography groups on Facebook, and I am always slightly amazed when I see people asking someone to make them a digital layout of some kind.  Because they are so simple - and so much fun - to make yourself using photoshop!

In this tutorial, I show you how to do it using either Photoshop Elements or Photoshop CS.  I much prefer to use Elements for designing, dragging, dropping and resizing, so forgive me if I haven't shown you the easiest way to do steps in CS.

First decide on how large your overall image needs to be - this may be the width of your blog, or the size of your canvas.

Create a new document in PS and set it to the dimensions you want - the width of your blog for example.  If you want to create a 30x20 inch canvas, that would create a huge image and file size to work with if you used 30 x 20 inches - so divide into more manageable numbers  (eg, 30 inches in half is 15 inches divided in half again is 7.5 inches, 20 inches in half is 10 inches divided in half again is 5 inches)  Work with whatever size your computer can cope with.  Mine would slow down too much if I didn't scale down.  Just bear in mind your eventual output may need to be high resolution if you are printing something like a wedding album.


If you will be printing your layout, set your resolution to 300.  If it's for displaying online (on your blog for example), your resolution will be fine at 72


Now I'm going to add my background design - if you want just a plain background, either set your Background Content to white, or recolour your background and skip the following step.

In Photoshop Elements


In Photoshop CS


Now I'm going to create the layout for where I want to place my images.


In Photoshop Elements


In Photoshop CS


You will see that all of your shapes are now on their own layers - you've created layer masks!


Each shape is now on its own layer


Now to add your images

I selected and opened the images I wanted to choose to use from my computer

In Photoshop Elements they will automatically be displayed in your project bin like this


However, Photoshop CS makes you do a lot more work - even more so since Adobe appear to have removed the Browse in Mini Bridge option <frowny sulky face> :  

Disclaimer : I do not reguarly use CS for this kind of work, as Elements is so much easier - so if anyone knows of an easier way to do the next step, please let me know in the comments!


Let's get those images into your template!


In Photoshop Elements

1. Drag and drop your chosen image onto your layout
2. Look across to your layers and place the image layer above the relevant shape layer
3. With your cursor over the dividing line beween image and shape, press the ALT button on your keyboard - you have now clipped your image to your mask!
4. You can now resize your image to whatever size you want and it will always stay the same shape as your mask


In Photoshop 

There are a few more steps you need to take in CS

1. Drag and drop your chosen image onto your layout from your resized Bridge view
2. CS will ask if this is where you want to place your image - click the green tick to confirm
3. Look across to your layers and place the image layer above the relevant shape layer
4. With your cursor over the dividing line beween image and shape, press the ALT button on your keyboard - you have now clipped your image to your mask!
5. To resize your image, make sure you have selected the correct image layer to work on (in Elements you are able to just click on the image, but you have to tell CS which layer of your document you want to make adjustments to), press CTRL+T to get your drag handles.  Make sure to keep holding the shift button on your keyboard to retain the proportion whilst resizing.


And that's it!

You can use any shape you like - as long as it's on its own layer, you can clip an image to it.

Here's the one I created as part of the tutorial


And here are some examples of playing with shapes.  I just put a shape on a transparent layer and clipped an image to it!


Putting your images online in a shaped mask means people are less likely to download and print them.


I hope you find this tutorial useful, easy to follow and informative!

But if the thought of all these steps makes you cry - I sell some pre-made templates here :